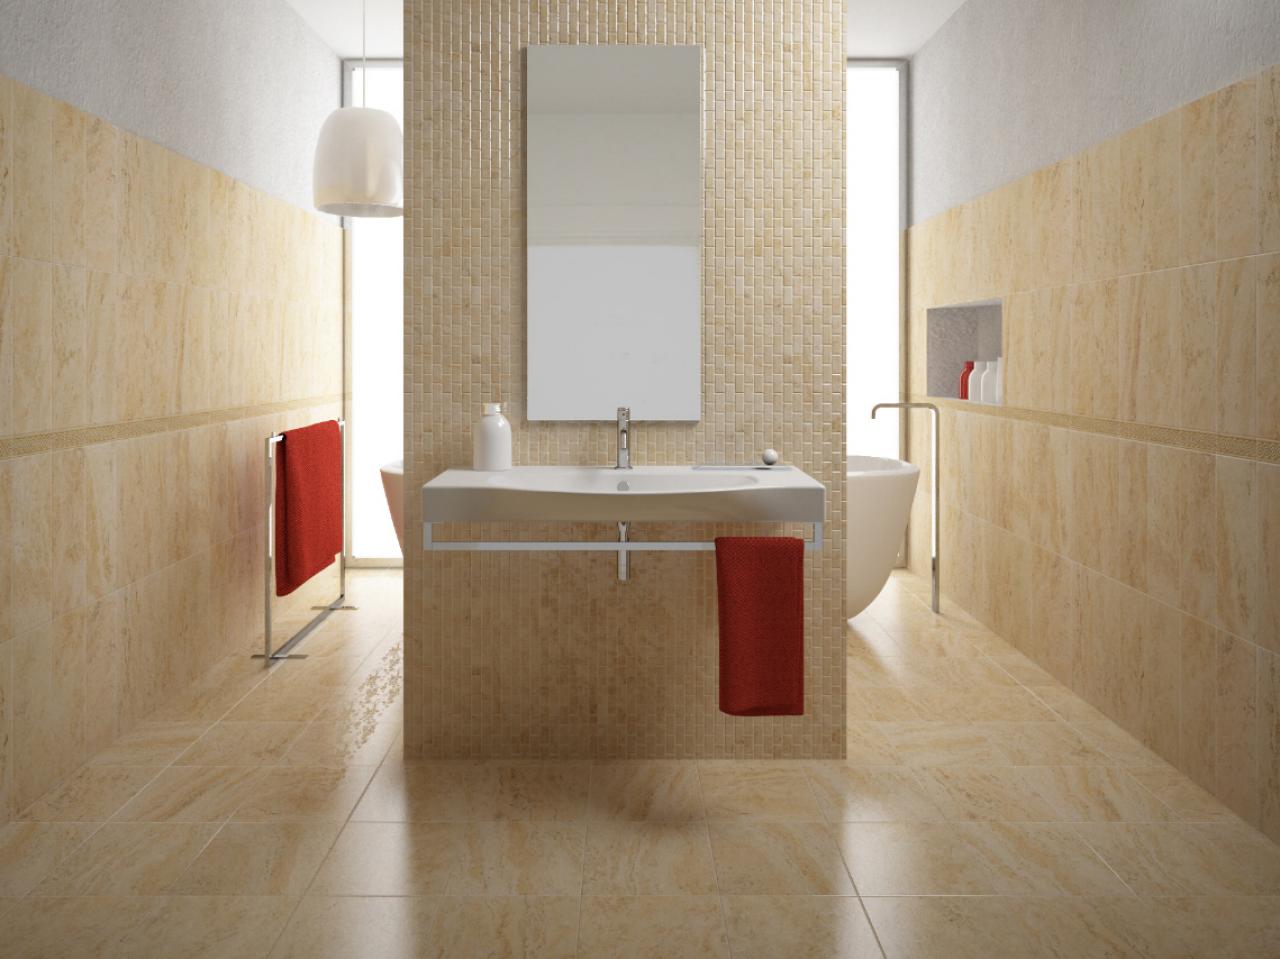
From Beginning to End Up: A Detailed Guide to Flawless Tile Setup
" From Begin to Finish: A Detailed Overview to Flawless Tile Setup" is a thorough resource that gives professional assistance and comprehensive guidelines on achieving flawless tile installation. With its clear and concise guidelines, this guide is an indispensable device for anyone looking to grasp the art of floor tile setup.
Preparation and Prep Work
To ensure a successful ceramic tile installation project, complete preparation and precise prep work are vital. Before diving into the real installation process, it is critical to have a well-thought-out strategy in position. Begin by evaluating the location where the ceramic tiles will certainly be set up and establishing the scope of the job. Think about elements such as the sort of ceramic tiles, the format design, and any type of particular needs or obstacles that require to be attended to.
Following, gather all the essential products and devices needed for the setup. This consists of the floor tiles themselves, adhesive, grout, spacers, trowels, and any various other customized equipment. Ensure to purchase enough tiles to make up any possible damage or blunders during the installment process.
When the materials are ready, it's time to prepare the surface area that will certainly be tiled. This includes cleaning the area thoroughly and ensuring it is level and without any kind of imperfections or cracks. If needed, apply an ideal primer or waterproofing membrane layer to develop a stable base for the ceramic tiles.
Lastly, develop a layout plan for the ceramic tiles. This entails figuring out the beginning factor, marking standards, and making certain symmetry and balance throughout the installment. Take dimensions carefully and make any type of necessary changes to guarantee an exact and cosmetically pleasing outcome.
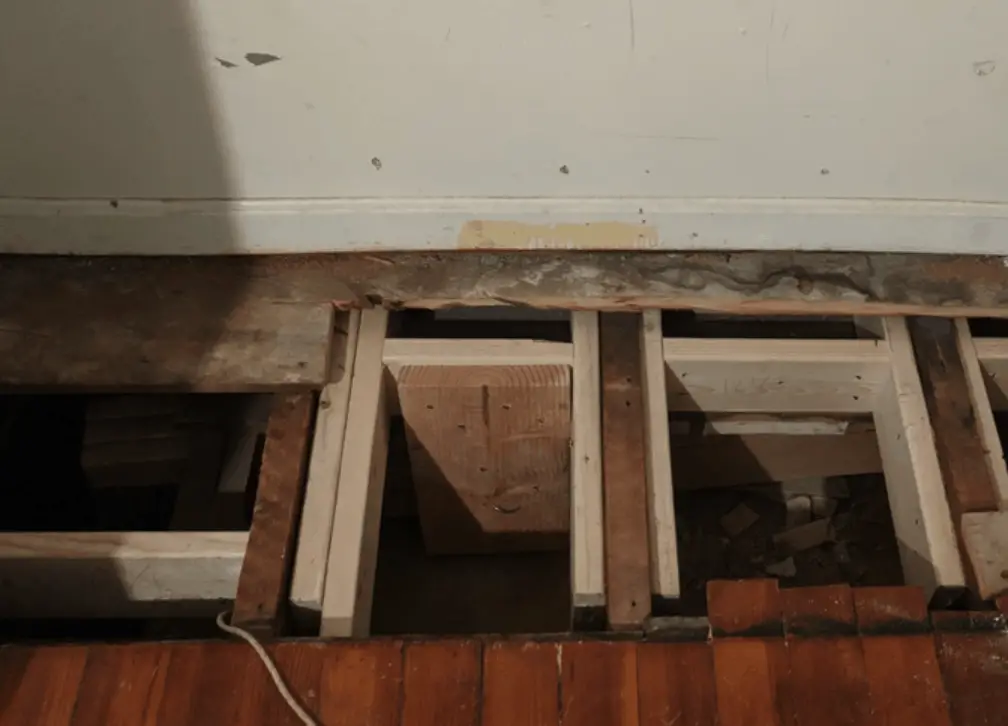
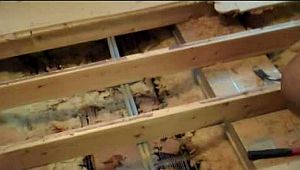
Surface Preparation and Repair Work

Prior to diving right into the actual installation process, it is necessary to correctly prepare and fix the surface that will be tiled. Surface preparation is important for making certain a remarkable ceramic tile installment that will stand the examination of time. The primary step in surface preparation is to inspect the substrate for any existing damage, such as cracks or disproportion. These concerns need to be attended to and repaired prior to continuing with the installment.
This will certainly stop the fractures from creating and increasing damage to the newly set up ceramic tiles. This will certainly create a smooth and also surface area for the floor tiles to stick to.

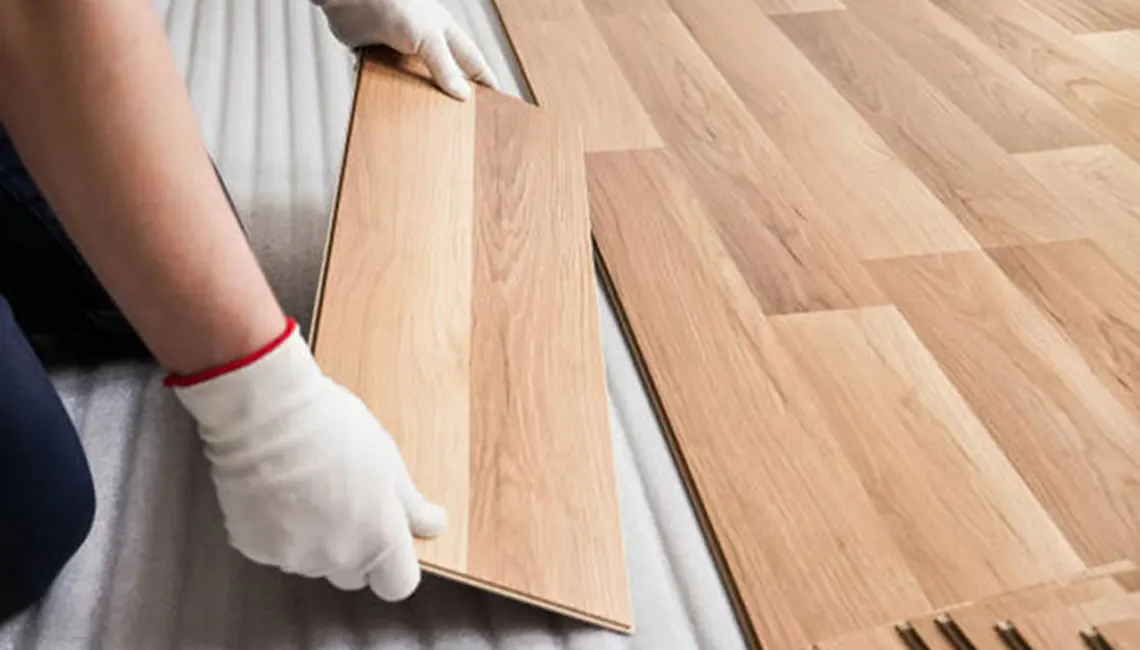
Establishing the Floor Tile
The first step in establishing the tile is to make certain that the surface has actually been effectively prepared and repaired. As soon as the surface area is clean, degree, and devoid of any type of flaws or fractures, you can start the procedure of setting the floor tile.
Before starting, it is essential to collect all the required devices and materials for the task. These might include a notched trowel, ceramic tile spacers, a floor tile cutter or damp saw, a grout float, and ceramic tile glue or thinset mortar.
To start setting the ceramic tile, beginning by using a slim layer of adhesive or mortar to the surface making use of the scratched trowel. See to it my site to spread the useful content adhesive uniformly and continually to guarantee appropriate attachment.
Next, place the floor tile onto the adhesive, pressing it firmly right into place. To guarantee even spacing in between floor tiles, utilize floor tile spacers. Continue this procedure, operating in small areas at once, till all the tiles are established.
As soon as all the floor tiles remain in location, permit the glue or mortar to treat for the recommended quantity of time. This will commonly be specified on the product packaging.
After the adhesive has actually treated, you can continue to grouting the floor tiles. This will certainly help to complete the spaces in between the tiles and offer a finished appearance.
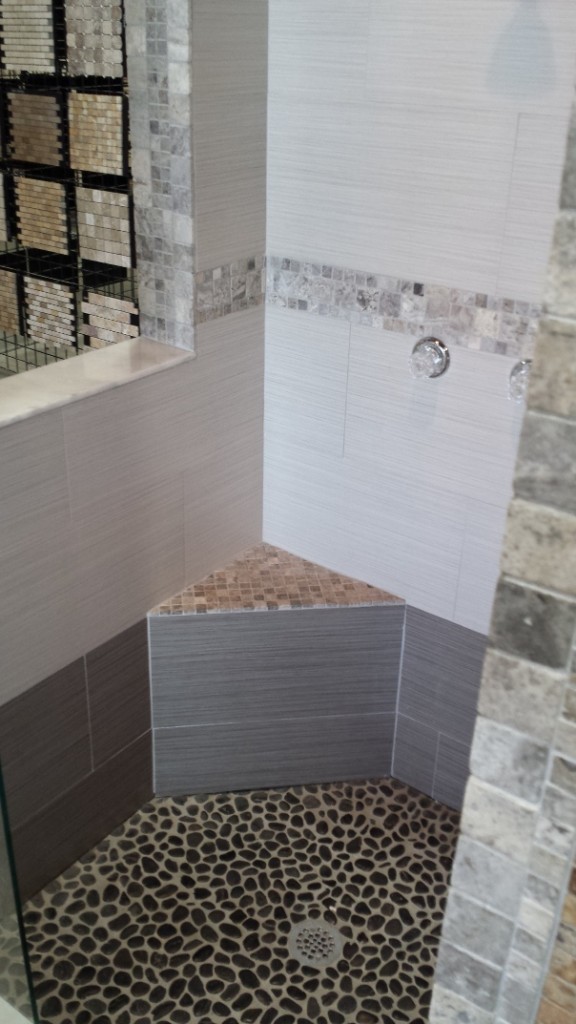
Grouting and Sealing
1. Begin by preparing the grout combination according to the manufacturer's guidelines. Grout is an essential component of tile installation as it not just fills up the spaces in between tiles yet additionally provides stability and stops wetness penetration. To make certain a remarkable coating, it is crucial to comply with the supplier's guidelines very carefully.
As soon as the grout blend is prepared, utilize a cement float to use it to the floor tile surface area. Hold the float at a 45-degree angle and spread out the grout diagonally across the ceramic tiles, ensuring total insurance coverage in the joints. Operate in small sections to protect against the cement from drying out before it can be correctly cleaned.
After the first cleaning, wait for the grout to heal completely before applying a grout sealer. The sealer includes an added layer of defense, stopping spots and dampness from passing through the grout. Comply with the supplier's instructions for the sealant application, making certain even coverage.
Securing and grouting are essential actions in floor tile installment that add to the general appearance and long life of the project. By meticulously following the maker's instructions and putting in the time to finish these actions appropriately, you can achieve a perfect and long lasting floor tile installment.
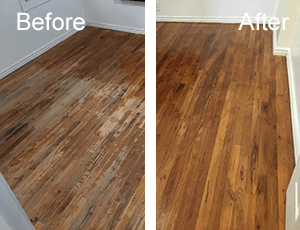
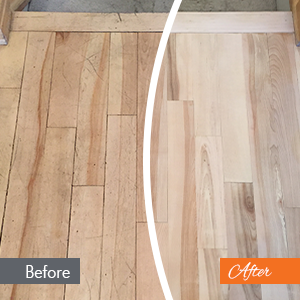
Completing Touches and Clean-up
To finish the tile setup process, attention to detail and extensive clean-up are vital. After grouting and securing the tiles, it is critical to this article focus on the finishing touches to ensure a flawless outcome. The very first step is to eliminate any kind of excess cement or adhesive from the ceramic tile surface. This can be done using a wet sponge or towel, gently cleaning away the deposit. Care ought to be taken not to interrupt the freshly grouted joints.
Following, examine the floor tiles for any inconsistencies or flaws. It is important to resolve any irregular floor tiles or voids between them. If needed, adjustments can be made by delicately touching the ceramic tiles with a rubber mallet or using a ceramic tile leveling system to attain a level surface area.
Once the ceramic tiles are in location and effectively lined up, it is time for the last clean-up. Any type of continuing to be grout haze or smudges need to be removed utilizing a tile cleaner and a soft fabric. Focus on the grout lines and sides, guaranteeing they are complimentary and tidy from any kind of excess grout or residue.
Lastly, put in the time to check the entire setup for any kind of missed out on areas or areas that require more interest. By very carefully taking a look at the finished job, you can make any essential touch-ups or modifications. This thorough method will certainly result in a flawless floor tile installation that will stand the examination of time.
Conclusion
In conclusion, following a step-by-step overview for remarkable tile setup is essential for achieving an effective result. Appropriate planning and preparation, comprehensive surface area preparation and repair service, specific ceramic tile placement, and mindful grouting and securing are critical steps to ensure a visually attractive and resilient floor tile installation. By paying attention to the complements and carrying out complete clean-up, one can achieve a professional-looking outcome that will boost the visual value of any room.
" From Begin to End Up: A Step-by-Step Overview to Flawless Ceramic Tile Setup" is a comprehensive resource that gives professional guidance and detailed directions on attaining remarkable tile installment. To make sure even spacing between floor tiles, use tile spacers. Grout is a vital element of tile setup as it not only loads the spaces in between floor tiles but likewise gives security and avoids wetness infiltration. If necessary, adjustments can be made by carefully touching the tiles with a rubber mallet or utilizing a floor tile leveling system to achieve a level surface area.
Correct preparation and preparation, complete surface area preparation and repair work, accurate floor tile placement, and careful grouting and sealing are vital actions to ensure a visually attractive and sturdy tile installation.